Overview
The Schedule page lets you set exceptions to your normal availability. Schedules apply temporary changes, such as travel, busy periods, or out-of-office status, that affect how bookings are handled during specific timeframes.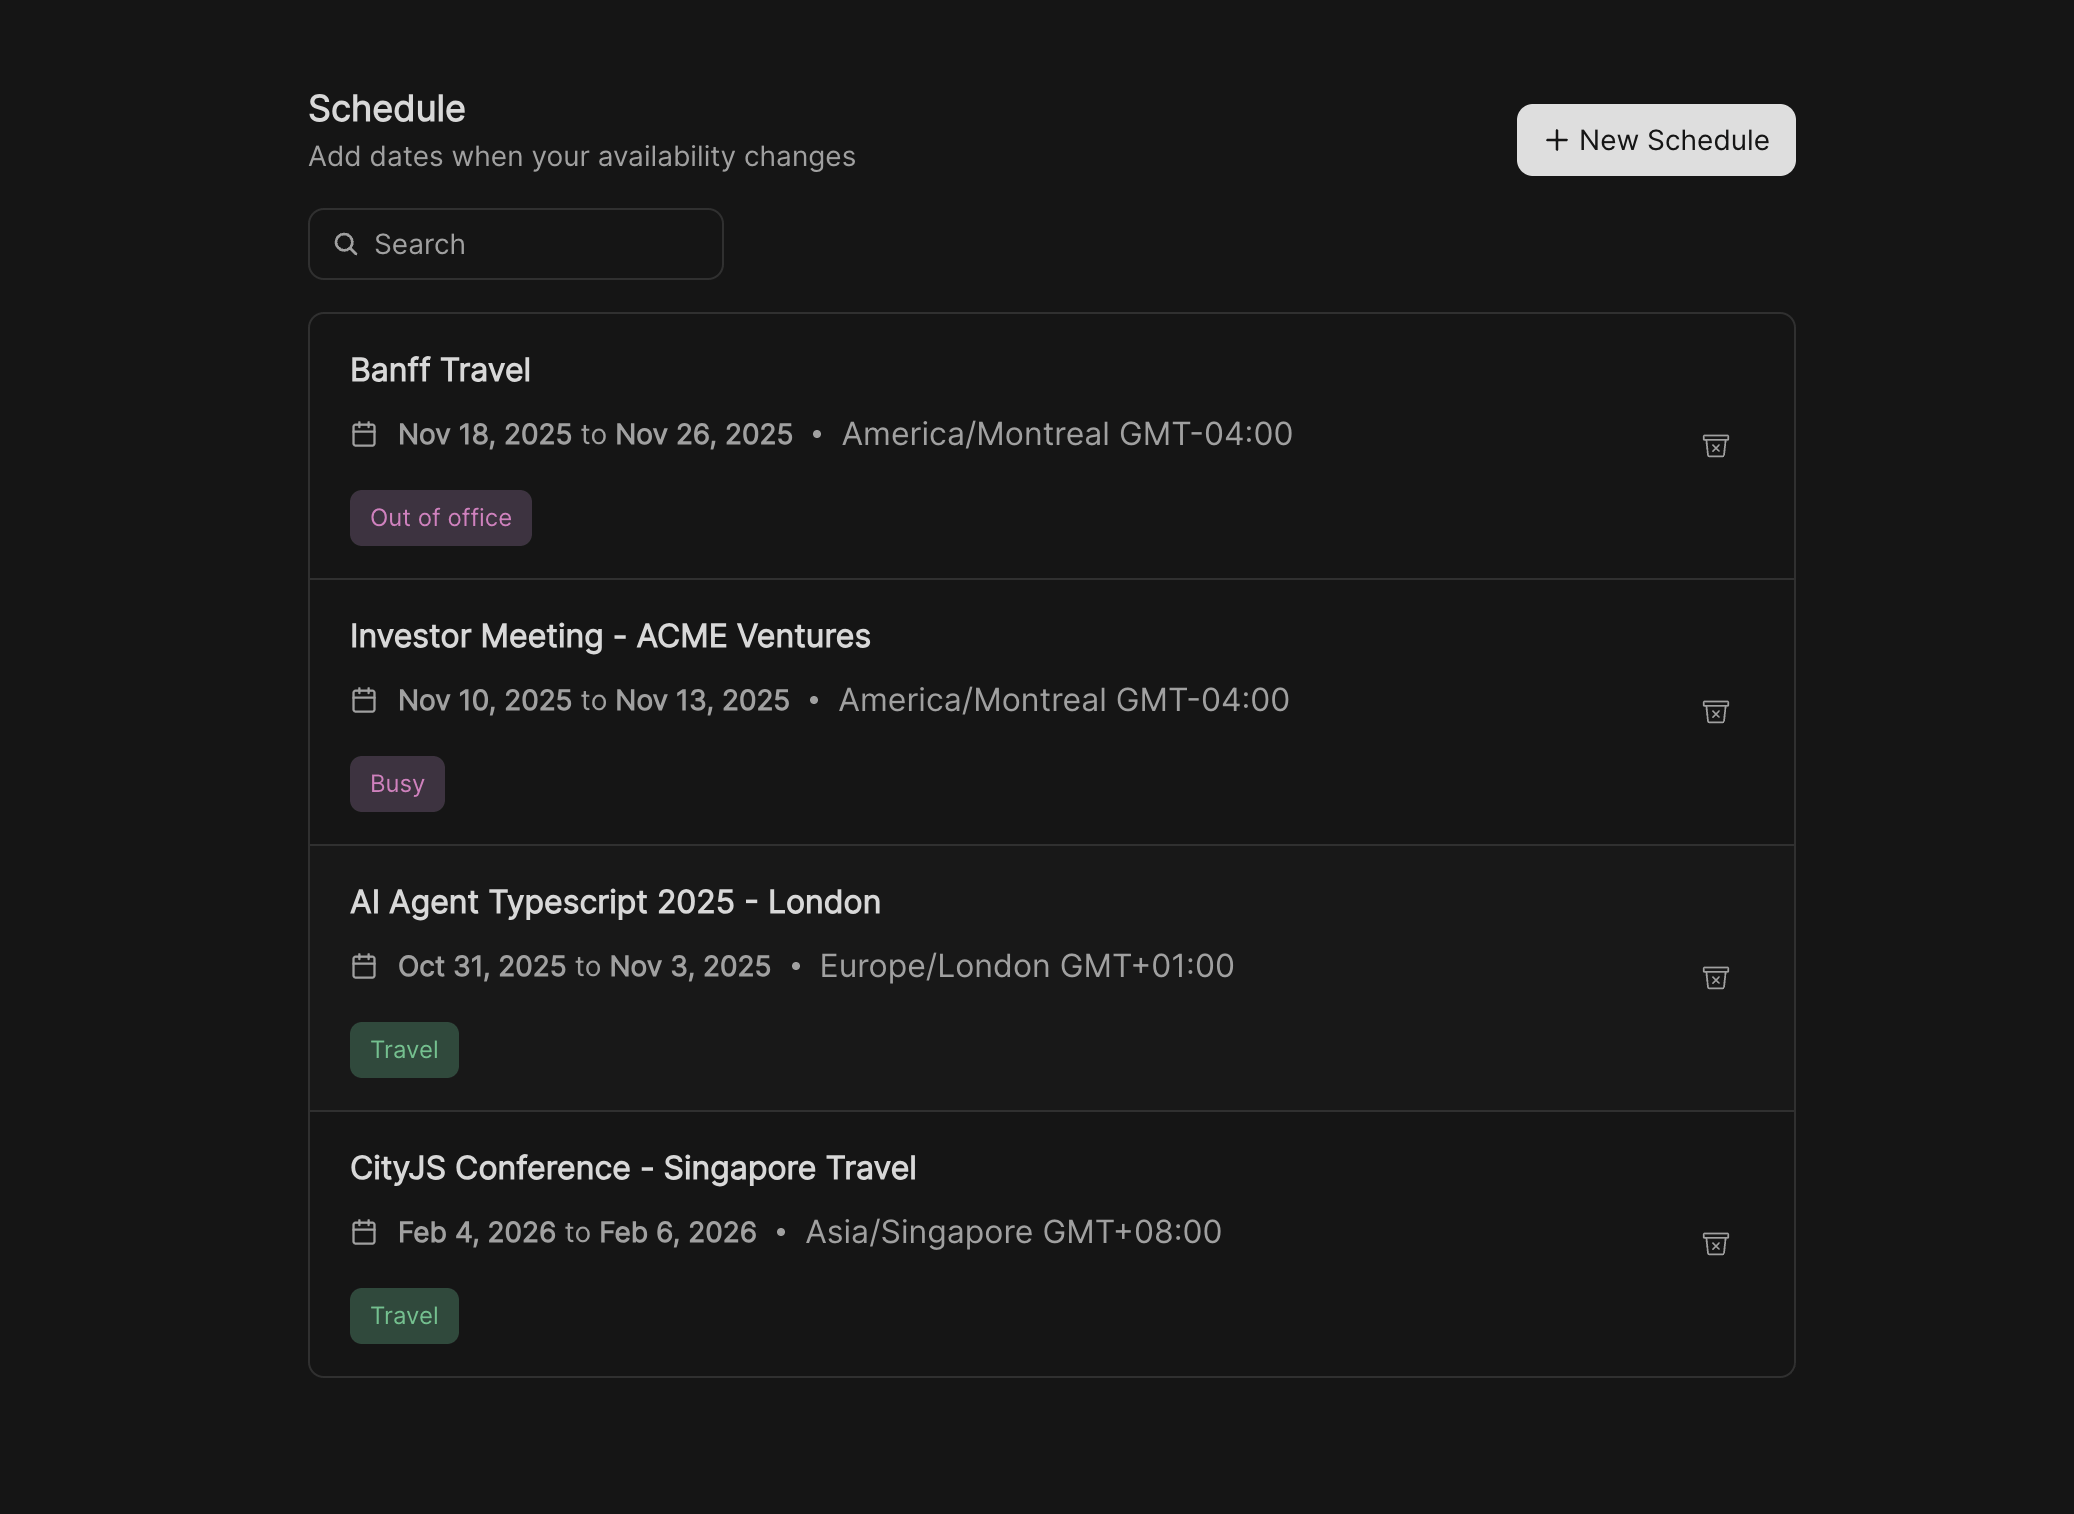
How it works
- Each schedule has a title, description, date range, timezone, and status.
-
The status determines how bookings behave during the scheduled period:
- Travel – Keeps bookings open but updates the timezone for all meetings.
- Busy – Blocks new bookings during the specified period.
- Out of Office – Blocks all bookings and shows clients you are unavailable.
Creating a new schedule

Enter details
- Title: A short name (e.g., Travel to Singapore, Family Time).
- Description: Optional context for your schedule.
Set dates
Choose the start and end date for your schedule.
Bookings outside this range will remain unaffected.
Bookings outside this range will remain unaffected.
Select timezone
Define the timezone for this period. Useful when traveling or working in another region.
Managing schedules
- View all upcoming schedules in the list view.
- Edit or delete schedules at any time.
- Use the search and filters to quickly find specific entries.
Example scenarios
- Traveling abroad – Mark as Travel to shift your meeting timezone while still allowing bookings.
- Heads-down project work – Use Busy to block new bookings temporarily.
- Vacation leave – Set as Out of Office to block all bookings and notify clients.