Overview
A Video step allows you to embed and share videos within your workflow.Use this step to provide tutorials, training content, or recordings that help guide participants through the process.
Creating a Video step
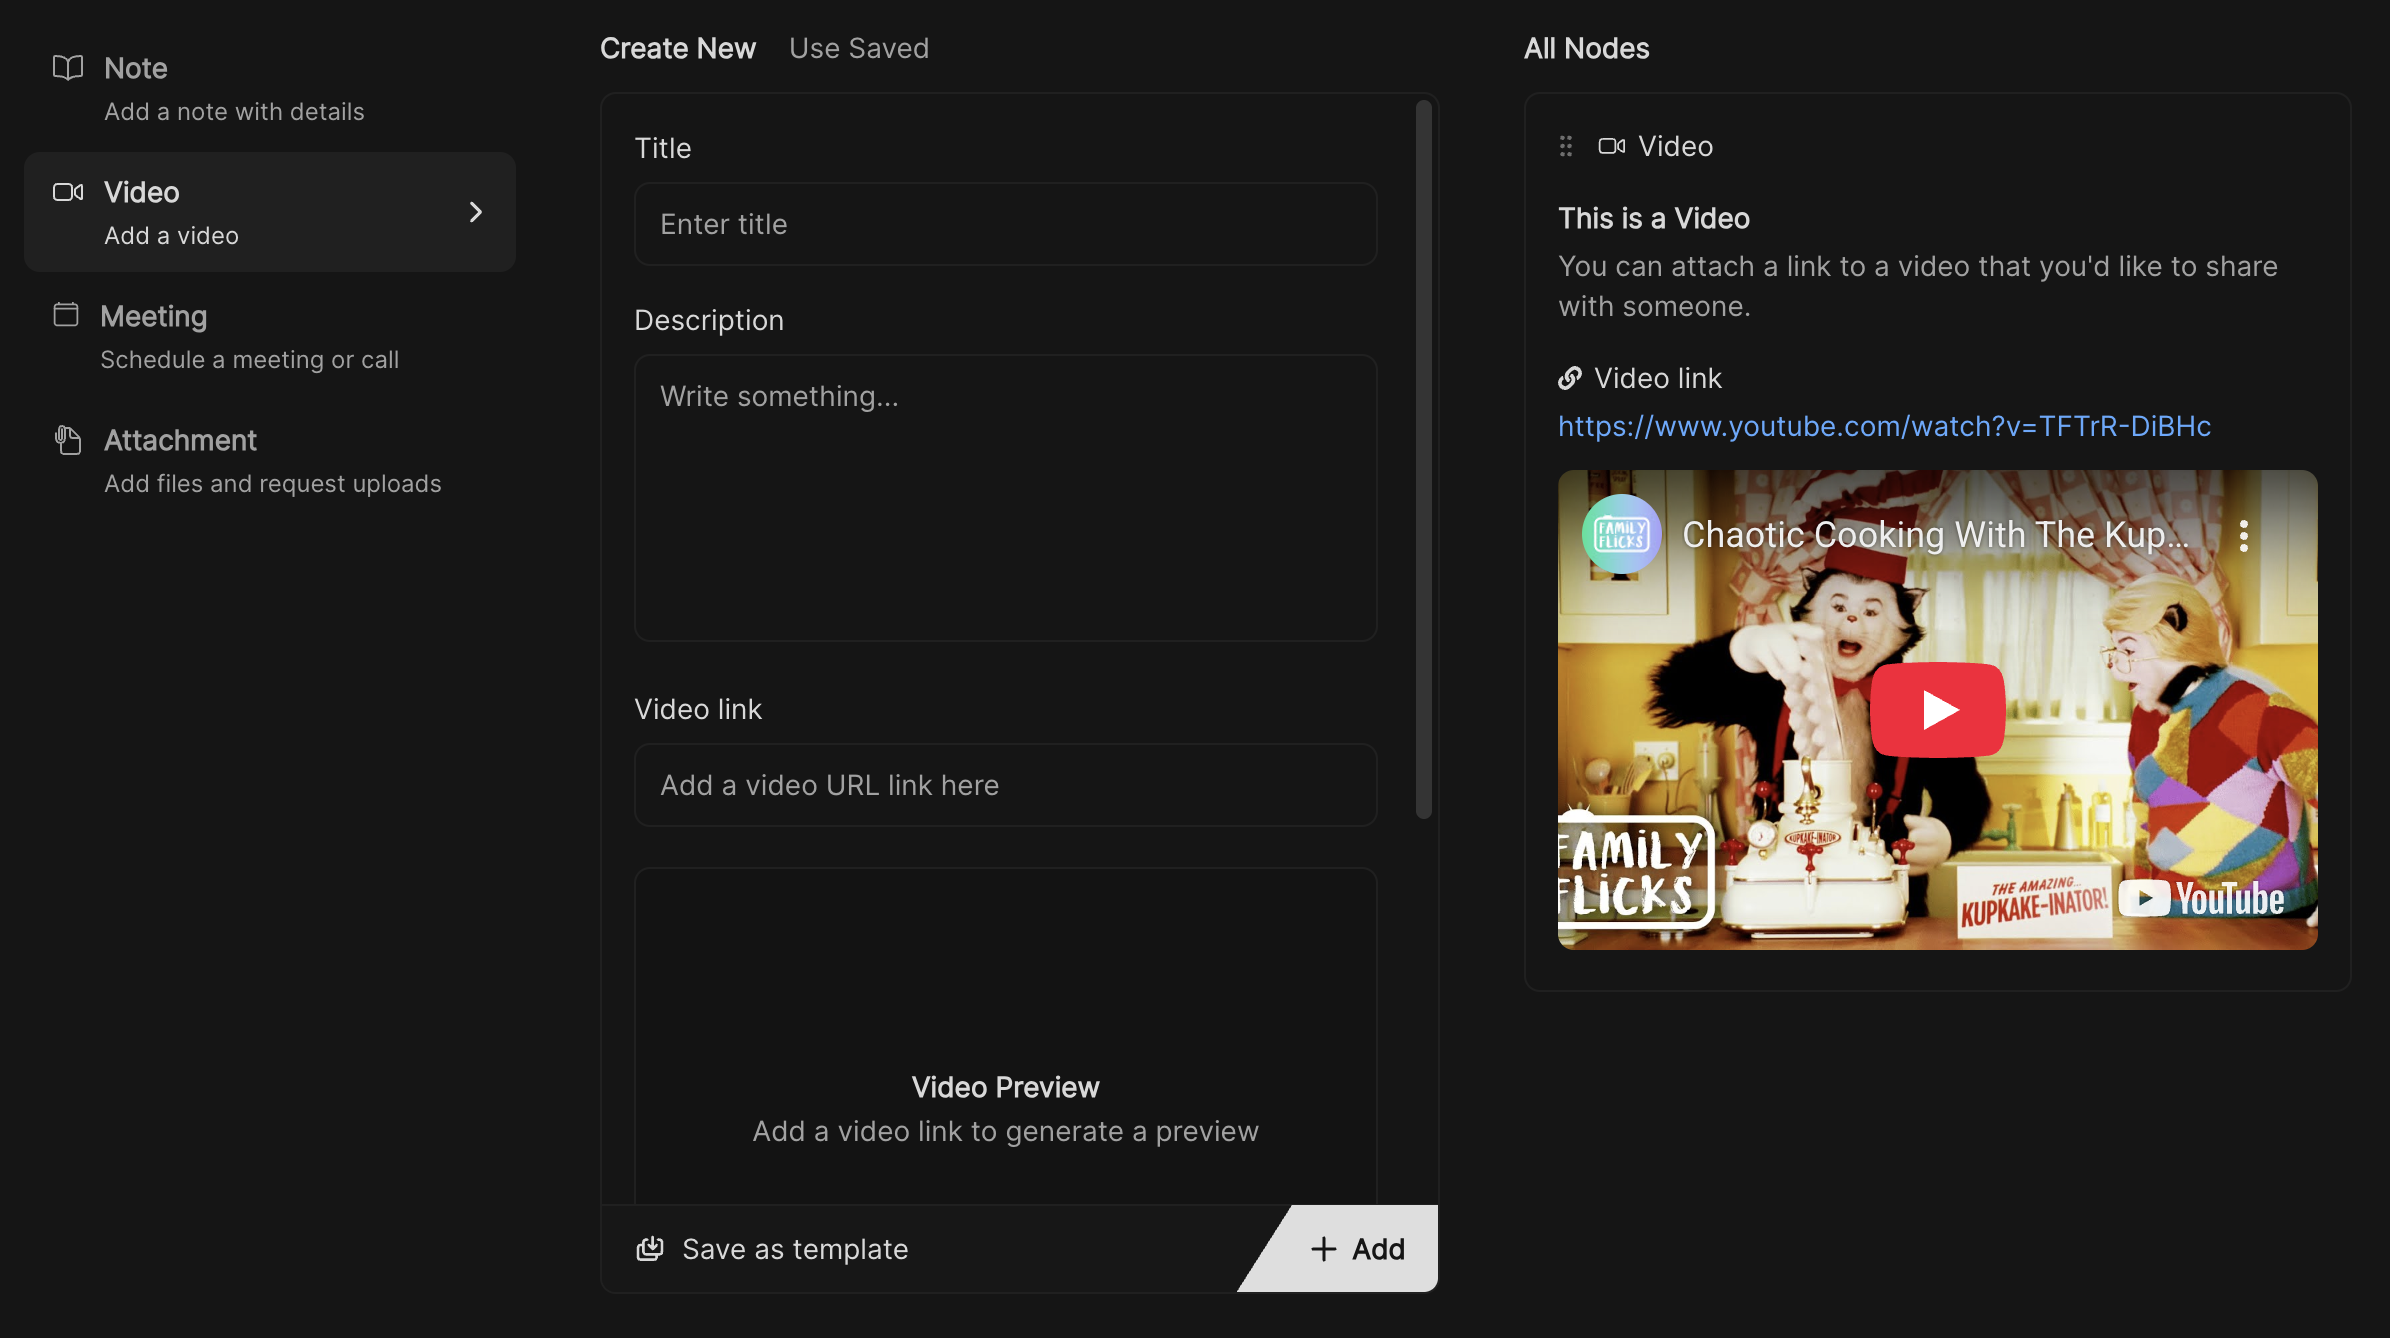
Enter a title
Give the video a clear, descriptive title.
Example: Introduction to Onboarding or How to prepare for your session.
Example: Introduction to Onboarding or How to prepare for your session.
Write a description
Add context for the video so viewers know what to expect.
Example: This video covers the basics of account setup.
Example: This video covers the basics of account setup.
Paste the video link
Insert a valid video link (e.g., YouTube, Vimeo, or a hosted URL).
Once added, a preview will automatically appear below the input field.
Once added, a preview will automatically appear below the input field.
Enable options
- Allow receiving feedback – Let users leave comments on the video.
- Allow receiving rating – Collect ratings after the video is watched.
- Hide in client view – Keep the video internal if you don’t want clients to see it.
Best practices
- Use short, focused videos for better engagement.
- Always add a description to explain why the video is important.
- Hide internal training videos if they’re only relevant to your team.