Overview
Workflows define a sequence of actions for your process. Each workflow belongs to a specific project or team and usually requires a name or title, while all additional settings (like triggers or templates) are optional.Quick creation methods
- Press
Wanywhere in the app to open the “Create Workflow” modal instantly. - Click the “New” button, located in the sidebar or top toolbar.
- Use our API to programmatically create workflows—ideal for integrating with external tools or automating creation.
Creating a new workflow
When you open the Create Workflow modal, you’ll see fields to define the title, URL, description, and optional labels for your workflow.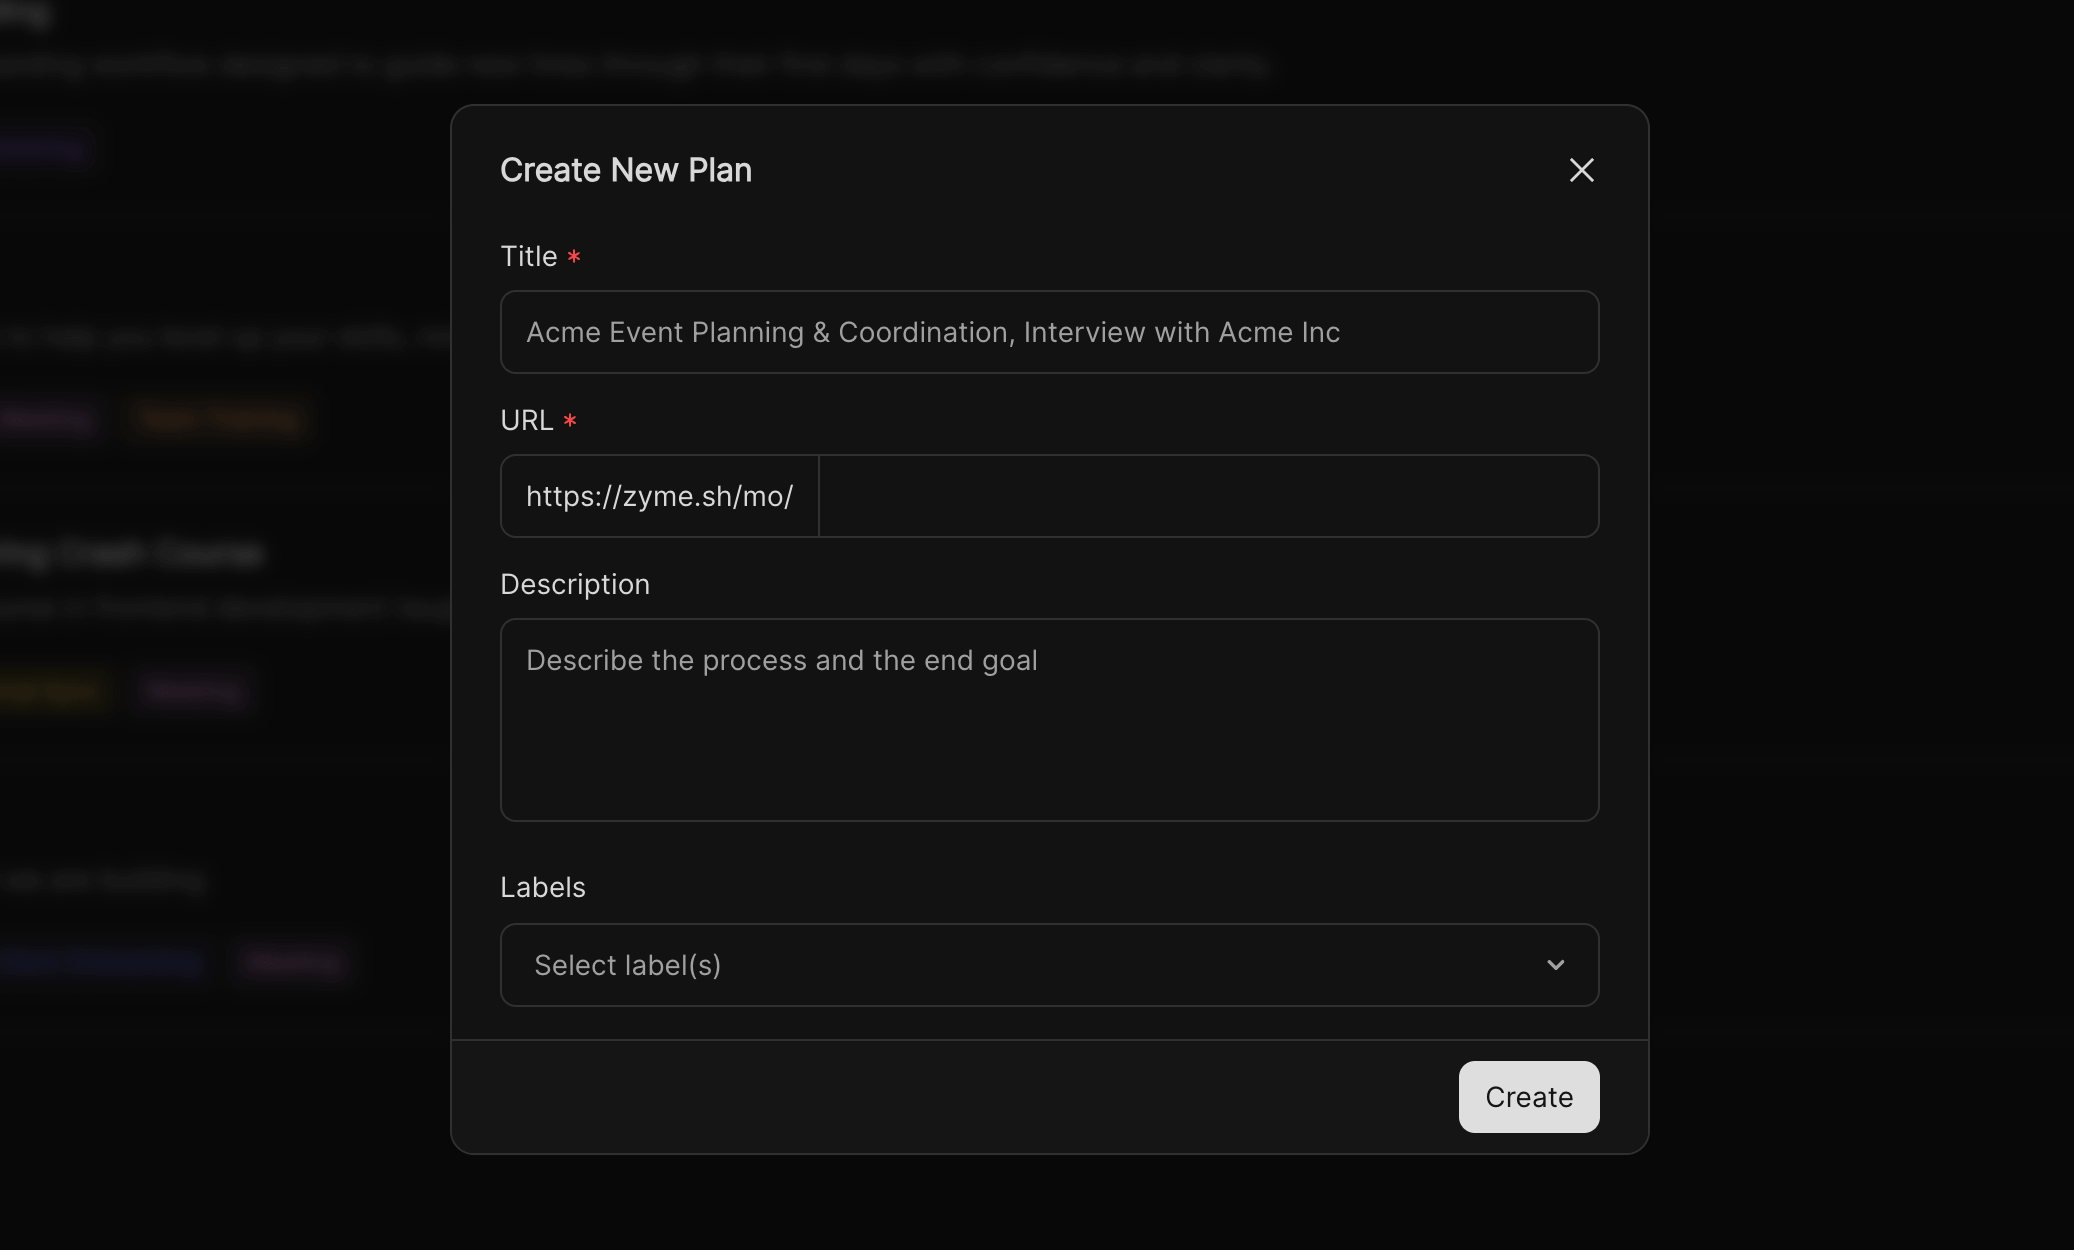
Open the Create Workflow modal
Use the shortcut
W, click the New button, or trigger workflow creation via API.Add a title
Give your workflow a clear and descriptive name, such as
Acme Event Planning & Coordination or Interview with Acme Inc.
This makes it easier for your team to identify and reuse workflows.
Acme Event Planning & Coordination or Interview with Acme Inc.
This makes it easier for your team to identify and reuse workflows.
Set a custom URL
Each workflow generates a unique link (e.g.
You can edit this to make the URL easy to remember and share.
https://zyme.sh/<username>/<url>).You can edit this to make the URL easy to remember and share.
Write a description
Summarize the purpose, process, and expected outcome of the workflow.
A good description helps teammates understand context before they start using it.
A good description helps teammates understand context before they start using it.
Add labels
Use labels to group workflows by category, team, or priority.
This makes searching and filtering easier across your organization.
This makes searching and filtering easier across your organization.